Have you ever wanted to make your cat an awesome DIY cardboard cat house? Well, now you can in 7 easy steps. In this blog post, I will share with you my process of creating my DIY cardboard cat house. You can take my process and tweak it to create something perfect for your feline friend.
Firstly, let me clarify that I am not a professional DIY expert. I had the idea of building a cat house to hide some storage bins and decided to give it a try. And it turned out to be a hit! So, here’s how I did it.
DIY Cardboard Cat House
*FTC Disclosure: This post contains affiliate links. If you make a purchase after clicking on the links, ThatCatMommy will get a small commission at no additional cost to you. We are dedicated to finding the best products for cats and cat lovers and we never recommend anything that we don’t love.
DIY Cardboard Cat House Supply List – Complete with links to my favorite products.
DIY Cardboard Cat House
1. Stability.
To ensure stability, I placed storage bins underneath the bottom cardboard boxes. This added some weight and prevented the structure from toppling over when the cats jumped on it.
2. Scratching Post.
I added a scratching post between the box towers to give the cats something to play with. This also helped to separate the different sections of the cat house and give it a unique touch.

3. Cut Boxes.
I collected about 20 boxes before I started to build the structure. Once I had a good supply, I cut them into sections so they would be easy to glue together.
DIY Cardboard Cat House
4. Glue Cardboard Boxes Together.
Cardboard boxes alone are not strong enough to hold everything in place. So, I took inspiration from some YouTube videos I had seen, where creators glued many layers of cardboard together to make them super strong. I did the same for my cat house, with at least two layers of cardboard for each piece. This ensured its durability and stability.
5. Creating Logs.
To make the cat house resemble a log cabin, I cut long strips of cardboard and covered them with fabric. Then I glued them onto the cardboard structure. This gave them a soft texture and made them more appealing.
6. Wall Coverings.
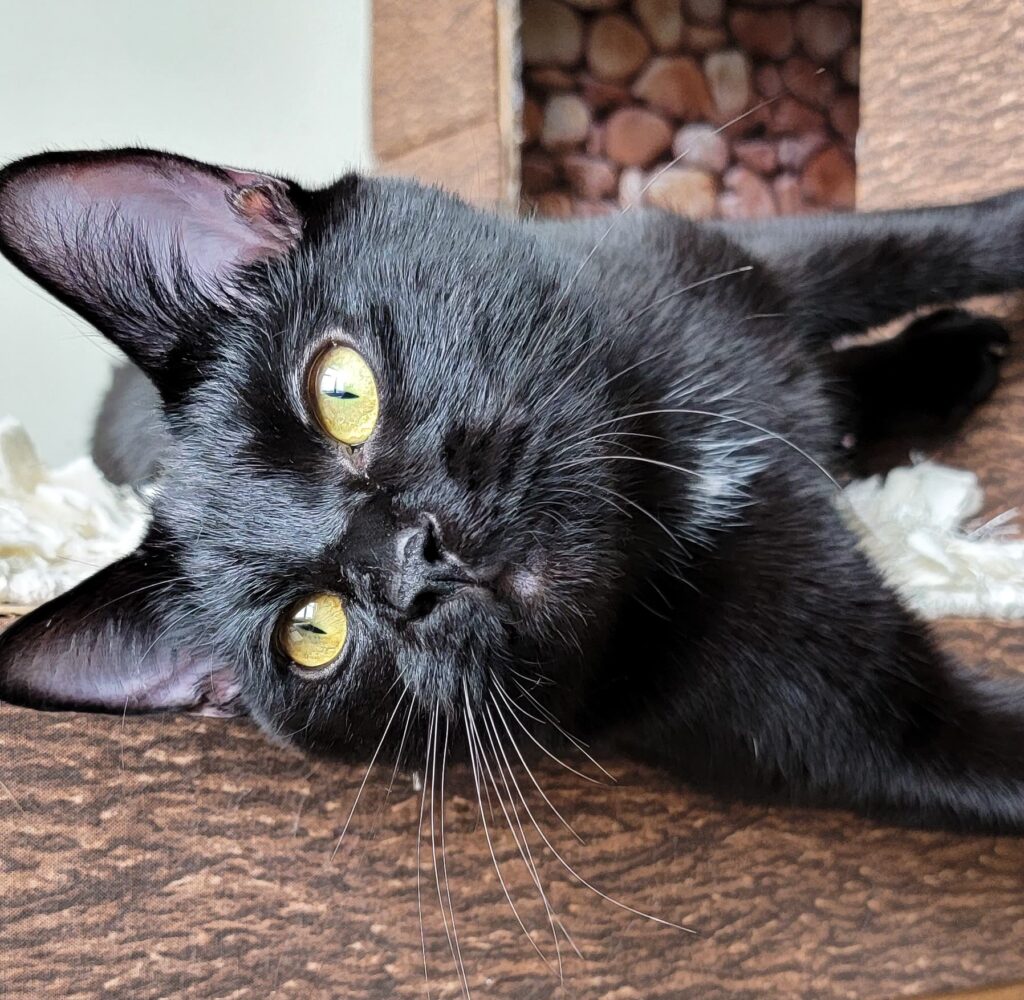
For the interior, I wanted to create two distinct atmospheres. In one section, the cat could relax in a cozy bedroom-like space. For this, I used fabric as wallpaper. In the second section with the scratching post, I used rock tiles so it would resemble a rock wall.

7. Floors.
For the floors in the bedroom and patio area, I used fur as a carpet to create a comfortable lounging area for the cats. For the top of the box, I glued fuzzy fabric that match the rest of the structure. This created a cohesive look and made the cat house blend well with the room decor.
DIY Cardboard Cat House
Now, please note that you don’t have to follow the exact pattern I used. You can unleash your creativity and adapt the cat house to your preferred style and theme. This DIY project only requires a can-do attitude, some hot glue, and fabric or materials of your choice.
Let me know what you think! I love to hear from you.
Remember to tag me on social media if you create your own DIY cat house. I would love to see your designs and how they turn out. And let me assure you, if I could do it, you can do it too!
